'%3e%3cpath%20d='M248.027%20159.993C292.176%20159.993%20328.105%20124.1%20328.105%2079.996C328.105%2035.892%20292.191%200%20248.027%200C203.863%200%20167.95%2035.892%20167.95%2079.996C167.949%20124.101%20203.878%20159.993%20248.027%20159.993ZM213.969%2045.973C223.069%2036.882%20235.155%2031.873%20248.027%2031.873C260.899%2031.873%20272.986%2036.882%20282.086%2045.973C291.186%2055.064%20296.2%2067.154%20296.2%2079.997C296.2%2092.84%20291.186%20104.93%20282.086%20114.021C272.986%20123.112%20260.899%20128.12%20248.027%20128.12C235.155%20128.12%20223.069%20123.111%20213.969%20114.021C204.869%20104.93%20199.871%2092.84%20199.871%2079.997C199.871%2067.154%20204.884%2055.063%20213.969%2045.973Z'%20fill='%23EE4323'/%3e%3cpath%20d='M150.16%200L57.6821%20159.993H94.5381L187%200H150.16Z'%20fill='%23EE4323'/%3e%3cpath%20d='M92.478%200L0%20159.993H36.856L129.334%200H92.478Z'%20fill='%23EE4323'/%3e%3c/g%3e%3cdefs%3e%3cclipPath%20id='clip0_296_834'%3e%3crect%20width='328.105'%20height='159.993'%20fill='white'/%3e%3c/clipPath%3e%3c/defs%3e%3c/svg%3e)



Push Help Center
Ready to help
Install the browser extension
Overview
The Push browser extension is deployed using device management software. This allows you to silently install the extension on all browsers in your environment, and prevent the extension from being removed.
By default, employees will automatically be licensed in Push if the Push extension has been installed through a managed deployment and the user’s email address matches your specified company domains.
Recommendation: Integrate your identity provider first
Push also integrates with your identity provider (M365, Google Workspace, or Okta). We recommend that you complete an IdP integration before deploying the Push extension. Integrating your IdP will allow you to sync over employee records, leading to faster enrollment. Refer to this related documentation for instructions on integrating your IdP.
Verify your monitored domains
Push only monitors logins that match the company email domains you specify on the Settings page of the Push admin console. You can enable monitoring of all domains used by your employees to access work apps (including personal accounts) if you choose. Ensure you have consent before using this feature. Learn more.
In addition, the extension will never send passwords anywhere. All password security checks are performed locally in the browser.
If you need to restrict the extension from running on specific websites, you can configure an ignore list in the Advanced tab of the Settings page. Learn more.
Customize extension behavior
In addition to configuring which domains you want to monitor, the behavior of the Push browser extension can be customized in the following ways:
Check for leaked passwords: The extension can connect to an external API, Have I Been Pwned, to identify passwords exposed in a data breach. This setting is enabled by default. You can configure it by going to Settings > Password checks. Learn more.
Define custom words to flag: The extension can check passwords against a list of custom terms you define, such as company names that are often used in weak passwords. You can configure the list of custom words by going to Settings > Password checks. Learn more.
The extension also powers Push’s security controls, including in-browser banners and password guidance, password protection, phishing tool detection, and more.
Learn more about security controls.
Installation options
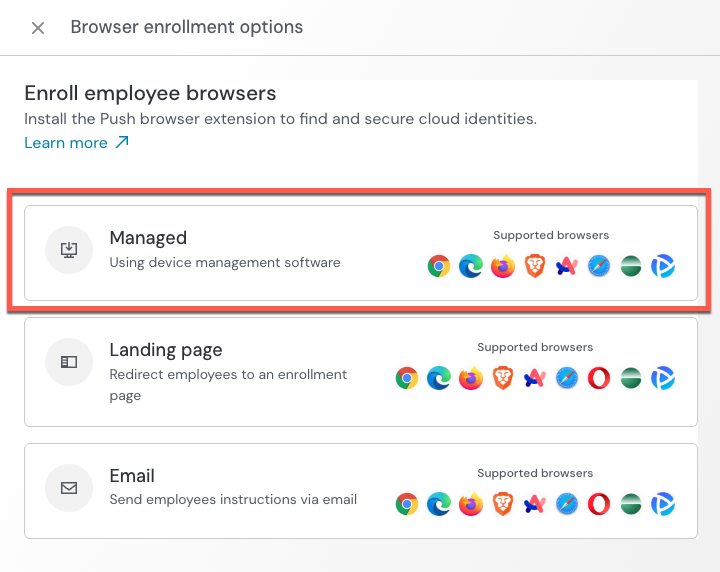
There are four ways to install the extension and enroll employee browsers:
Managed: Perform a managed installation to deploy the extension to employee machines using device management software. This is the recommended method.
Email: Allow employees to self-enroll by sending them a link to install the extension via email.
Landing page: Direct employees to a landing page to self-enroll after they confirm their identity by authenticating.
Managed installation
Perform a managed installation of the Push browser extension to add the extension to your employees’ browsers without any action required from them.
Enrolling an employee’s browser in Push via a managed deployment is a two-step process:
First, you install the Push browser extension.
Next, the extension waits for user login activity to help identify the user of the browser and complete enrollment. If you are using the automatic licensing option, Push will also license the identified user and add them as an enrolled employee on the Push platform.
Supported browsers:
Google Chrome
Microsoft Edge
Safari
Firefox
Brave
Arc
Island
Prisma
Atlas
Comet
Dia
Deployment options:
Google Admin Console managed Chrome
Microsoft Group Policy managed Chrome, Edge, and Firefox
Device management software on Windows. Documented example is for Microsoft Endpoint Manager (Intune).
Prisma Access enterprise browser
How is the Push extension activated once deployed?
Depending on your environment, it may take a little time for the Push extension to identify the user of the browser and complete the browser’s enrollment, thereby activating the extension. If you're seeing a lag in enrollment uptake, refer to this help article for details:
How is the Push browser extension activated after a managed deployment?
Self-enrollment via email
Send instructions to employees via email to install the extension and complete enrollment of their browser in a single step. This process takes about a minute.
Prerequisites: You must complete an integration with your identity provider first in order to sync in employee records and assign licenses to add those users to Push — or add those users manually. Then you’ll be able to send them email self-enrollment links for the browser extension.
Supported browsers:
Google Chrome
Microsoft Edge
Safari
Firefox
Opera
Brave
Arc
Island
Prisma
Atlas
Comet
Dia
Send enrollment emails:
1. Log into the Push admin console.
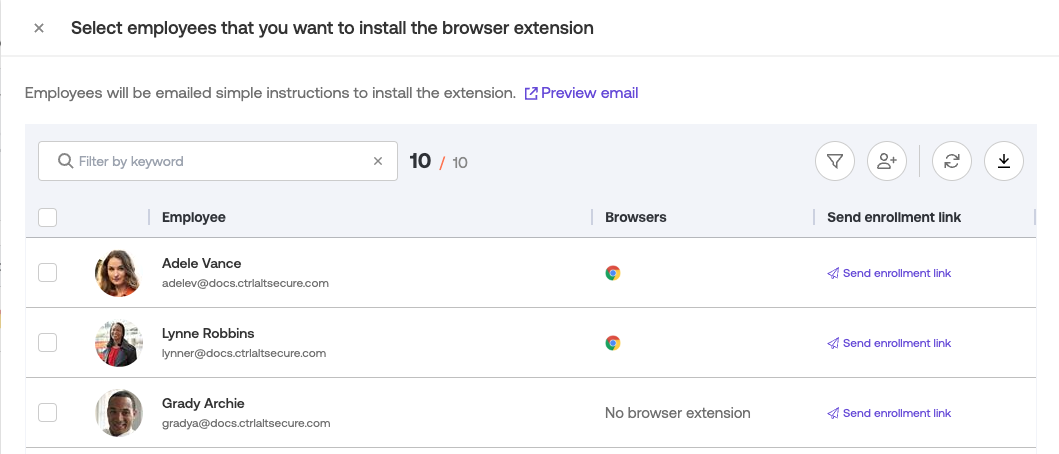
2. Go to the Browsers page in the left sidebar and then select Manage > Email as the enrollment option.
3. You’ll be taken to a view of all your employees with a license in Push. Select who you’ll send an email enrollment link to. You can also preview the enrollment email on this page by clicking on Preview email.
4. Emails will be sent immediately. To complete installation of the extension, employees should click on the Secure your browser link in the email on each browser they use for work.
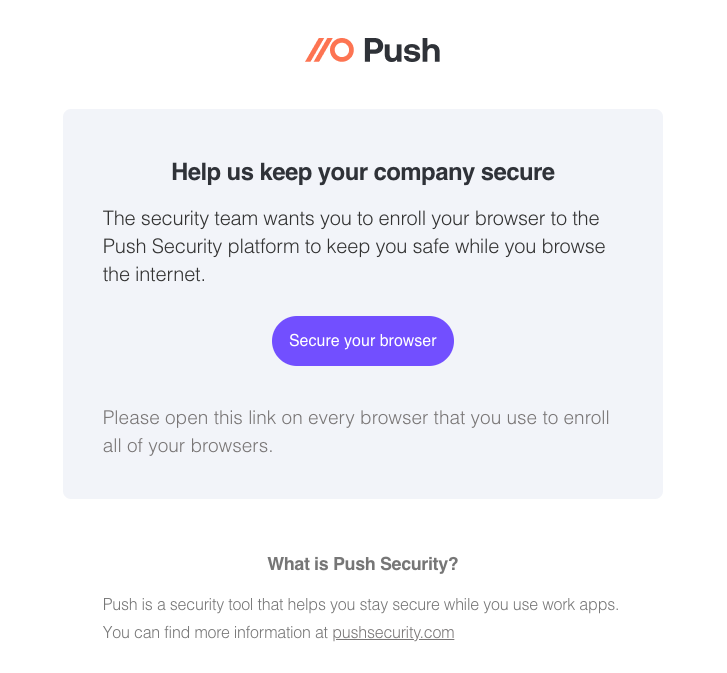
5. The link will take them to the extension installation page for their browser where they can install the extension, completing enrollment of their browser in Push.
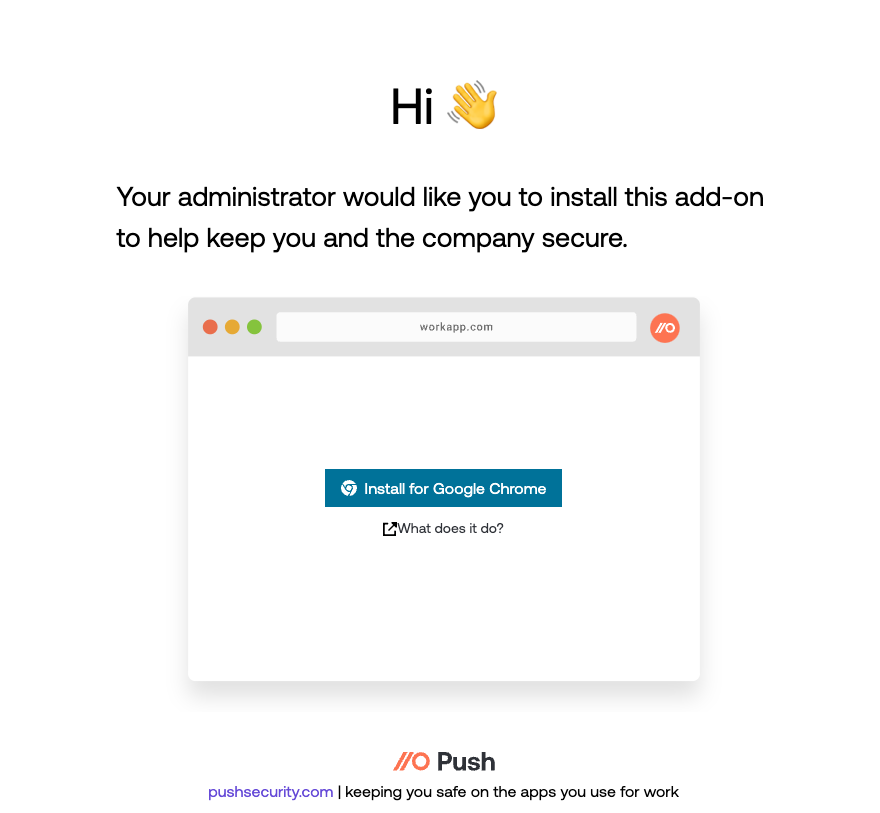
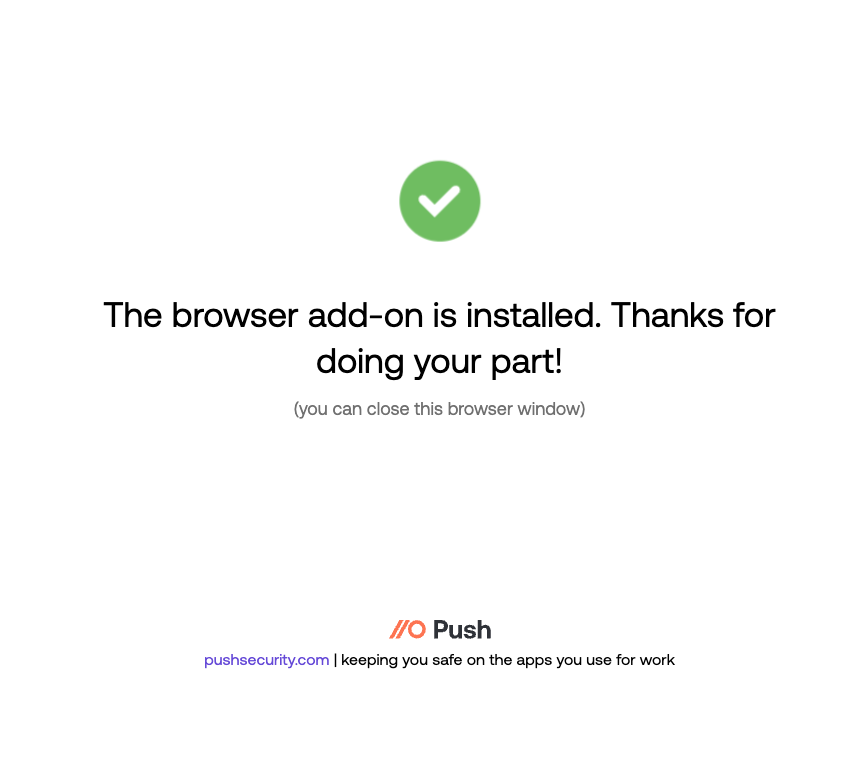
6. After they install the extension, they’ll see a confirmation message.
Self-enrollment via landing page
You can invite employees to self-enroll in Push and install the browser extension themselves by directing them to a unique landing page. Once employees visit the landing page, they will be prompted to authenticate via OIDC using your identity provider in order to confirm their identity. Once confirmed, they will be prompted to install the Push browser extension and enrolled in Push.
Note: You must use Microsoft 365 as your identity provider for this option. In order for employees to be able to self-enroll via the landing page, they must successfully complete an OIDC login using a user principal name (UPN) that includes a domain that matches your Monitored domains on the Settings page in Push. In addition, you must have licenses available in your Push account in order for employees to be automatically enrolled.
Supported browsers:
Google Chrome
Microsoft Edge
Safari
Firefox
Opera
Brave
Arc
Island
Prisma
Atlas
Comet
Dia
To use the enrollment landing page:
1. Log into the Push admin console.
2. Go to the Browsers page and select Manage > Landing page as the enrollment option.
3. Send the unique URL provided on the slideout to the employees you wish to enroll in Push.
4. Once employees visit the URL, they’ll be prompted to verify their identity by performing a Microsoft 365 OIDC authentication.
5. After that, they’ll follow the steps described above to install the Push browser extension.
Version updates
The Push browser extension automatically updates when new versions are released. You do not need to take any action to apply these updates.
Related help article
Removing the extension
You can temporarily disable the browser extension without needing to uninstall it if you need to do some troubleshooting. On the Settings page, select Advanced and add an ignore list of websites that the extension should not monitor. You can also disable the extension on all sites by entering an * (asterisk or star character) in the ignore list. Learn more.
If you want to remove the browser extension, you have two options:
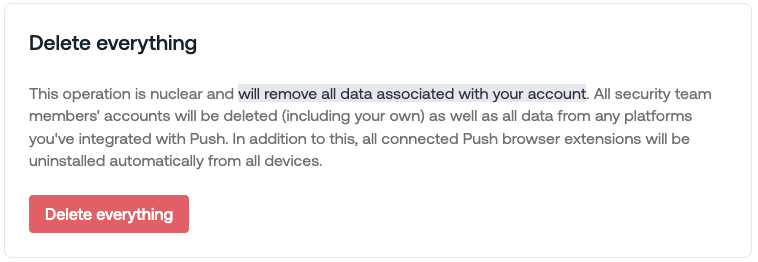
For self-enrolled extensions completed via email or landing page by the employee, the employee will need to manually delete the extension from their browser. Removing the extension this way does not delete their activity data from the Push admin console. If you wish to delete their activity data, you can revoke their account license. This will remove all their data from the Push platform, including data collected via API integrations and the browser extension. Note: If you delete your team on the Settings page of the admin console, this will cause all these browser extensions to unenroll and delete themselves.
For extensions installed via a managed deployment, you can use your device management software to remove the extension. Depending on the software, this method may remove the extension without deleting it on the Push side. In that case, the browser will still be associated with the employee record and will still appear in the admin console. It will expire and be removed after 90 days, which is the usual inactivity period for browsers. Note: If you delete your team on the Settings page of the admin console, this will also cause all these browser extensions to unenroll. You will need to remove the extension from your managed policy in order to delete the extension from managed browsers.
You can also unenroll a given browser profile for an employee by going to the Browsers page and finding the browser profile for a given employee that you want to remove. Select the trash icon for that browser profile under the Action column in the table to unenroll the extension from that profile.
Note that deleting a company domain from your Settings page will not remove or unenroll the extension. The domain setting only controls what data the extension monitors.
The Delete everything feature also deletes all your data.